Ultimate Zoom Interview Lighting and Audio Tips to Ace Calls
ResumizeAI
Nervous about sounding muffled or looking washed out on your next video interview? You’re not alone. A surprising 70% of hiring managers cite audio or video quality as an instant red flag. This guide delivers proven, step-by-step Zoom interview lighting and audio tips to make you look confident and sound professional. From affordable lighting tricks and microphone choices to room-acoustic fixes and live-check routines, you’ll get practical setups, real examples, and quick tests you can run before your call. Read on to transform your interview presence in under an hour.
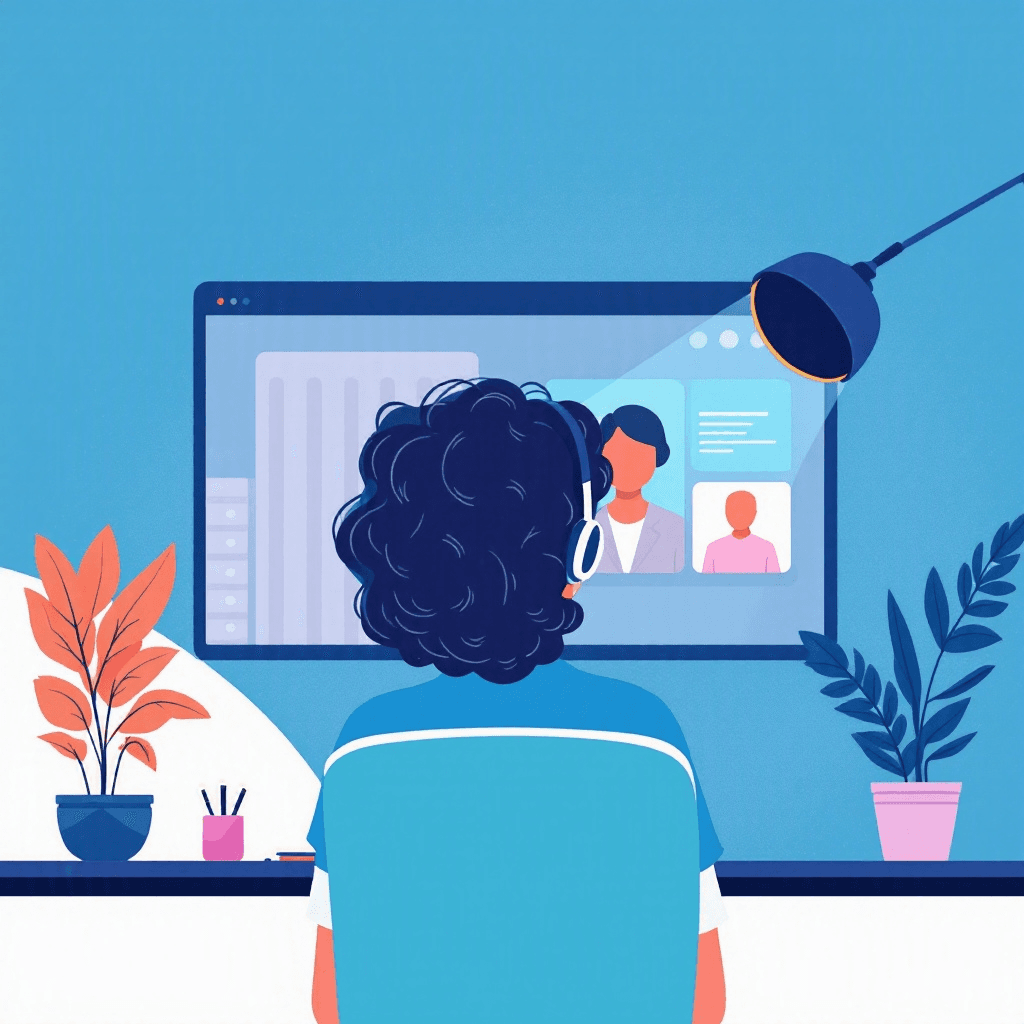
Imagine this: you’ve prepared answers, rehearsed your STAR stories, and then—during the interview—your face is shadowed, your voice echoes, or your microphone cuts out. Frustrating, right? Studies show that technical issues like poor lighting or muffled audio can lower perceived competence and reduce interview ratings. The problem isn’t your skills; it’s your setup. The opportunity? Fixable, fast, and affordable. In this guide you’ll discover essential Zoom interview lighting and audio tips that recruiters actually notice. You’ll learn how to create flattering lighting with everyday items, choose microphones that fit your budget, tame room echo without remodeling, and run quick pre-call checks that prevent disasters. By the end, you’ll have a repeatable checklist and specific setups you can implement in 30–60 minutes—so your next interview focuses on what matters: your story and fit.
Three things every remote interview tests before the questions start.
Tick anything you have not sorted out yet.
Ticked nothing? You are prepared. The checklist is still worth having open during the call.
Free to browse · No account needed
Why lighting and audio matter for Zoom interviews
First impressions during a video interview are literal—your lighting and audio shape how interviewers perceive confidence, professionalism, and clarity. Research indicates that nonverbal cues and presentation heavily influence hiring decisions. If your face is in shadow or your voice is quiet, interviewers are more likely to disengage or misinterpret your energy. Consider two scenarios: Candidate A speaks clearly with consistent lighting; Candidate B’s face flickers between bright and dark and sound drops intermittently. Even if both have identical answers, Candidate A usually wins.
Practical impact: poor lighting hides facial expressions (which convey enthusiasm and honesty); poor audio increases cognitive load for the listener, making it harder to follow your answers. That’s why investing 30–60 minutes to optimize lighting and audio can increase your chances of advancing by making your communication effortless for the interviewer. In the sections that follow, you’ll get step-by-step setups, budget options, and testing routines so you can transform your video presence quickly.
Quick lighting setup: three proven configurations
Good lighting is about control, direction, and color temperature. Below are three reliable setups—natural, budget, and pro—that work for most apartments and home offices.
Natural light (best for speed and realism)
- Position yourself facing a large window. Natural light is flattering and soft. Keep the window slightly above eye level or at eye level to avoid strong shadows.
- Avoid backlighting: don’t sit with the window behind you or you’ll become a silhouette.
- Example: Mona, a project manager, moved her laptop and chair 2 feet to face the living-room window. Her face brightened, and she received compliments on her clear video in subsequent interviews.
Budget setup (under $30)
- Use two inexpensive clip-on LED lights or desk lamps with daylight bulbs (5000K). Place one at 45° to your face and a second as a soft fill on the opposite side.
- Diffuse harsh light with parchment paper or a white t-shirt draped loosely over the lamp (keep distance to avoid heat hazards).
- Example: Javier created a soft three-point look using a bathroom light as backfill and a desk lamp with a white pillowcase for diffusion.
Pro setup (under $150)
- Invest in a 2-light LED panel kit with adjustable color temperature and brightness. Place a key light at 45°, a softer fill at 30–50% intensity, and optional backlight behind you to separate you from the background.
- Tip: set color temperature to 5000–5600K for a neutral daylight look.
Action steps:
- 1Test your setup on Zoom video preview.
- 2Record a 30-second clip and check for shadows and color cast.
- 3Adjust light height and intensity until your face is evenly lit and eyes have a catchlight.
Interviews start with an application
New remote roles land on the board daily. Browsing takes no account, and the weekly email keeps the next one coming.
New remote roles, in your inbox every Monday
- Roles from named companies, with their source
- New postings only, never a repeat
- One click to stop
Alerts ship shortly. Sign up now and you are on the first send.
Microphone and headset choices that improve clarity
Audio quality is often more important than video. Hiring managers will forgive a slightly dim video long before they forgive intermittent audio. Choose a microphone that minimizes background noise and captures a full, natural voice.
Affordable options (under $50)
- Wired earbuds with inline mic: Many smartphones include earbuds that are surprisingly good for interviews. Keep the cord tidy and clip the mic to your collar to reduce rustle.
- Lavalier mic ($15–$30): Small clip-on mics deliver consistent volume and free your hands for gestures. Easy to plug into your laptop or phone.
Mid-range (under $150)
- USB condenser mic (e.g., Blue Snowball, Rode NT-USB Mini): These offer clear, warm sound. Position the mic 6–12 inches from your mouth and use a pop filter if you have one.
- Headset with mic boom: Great for noisy environments; boom mics place the mic close to your mouth and reduce room noise.
Pro tip: mic positioning and settings
- Angle the mic at 45° from your mouth to reduce plosives. Use software-level gain at 50–70% to avoid clipping.
- In Zoom, go to Audio Settings > Advanced and disable “Automatically adjust microphone volume” if you want steady gain. Use “Original sound” for better fidelity if invited.
Example: Priya switched from laptop speakers to a USB mic and noticed her interviewers stopped asking her to repeat herself. Clear audio shortened the interview but improved engagement; she got invited to the next round.
Tame room echo and background noise fast
Room acoustics can sabotage even the best microphone. Echo increases perceived distance and reduces clarity. You don’t need soundproofing—just simple fixes.
Quick acoustic improvements (under 30 minutes)
- Add soft materials: Hang a blanket or tapestry on the wall behind you, place a rug on the floor, and throw pillows on hard chairs. These absorb reflections.
- Reposition yourself: Sit closer to soft surfaces and away from bare walls. Corner positions often create more bass buildup; avoid facing a bare wall directly.
- Close windows and doors: Eliminate street noise and HVAC hum where possible.
Noise-reduction tools
- Use Zoom’s built-in background noise suppression (Settings > Audio > Suppress background noise: Auto). For more control, try Krisp or NVIDIA RTX Voice for aggressive noise removal.
- Be cautious: aggressive noise suppression can sometimes clip quieter parts of your voice—test before the interview.
Example: After adding a bookshelf and a rug behind her chair, Daniel’s home office lost the metallic ring in his voice. He combined a lavalier mic with Zoom’s noise suppression on Auto and achieved clean, natural sound.
Action checklist:
- 1Add one or two soft items behind you.
- 2Close windows/doors and pause noisy devices.
- 3Run a 15-second echo test recording and listen for reverb.
Framing, background, and camera positioning for a confident presence
Lighting and audio are crucial, but how you frame yourself on camera seals the impression. A well-composed frame makes you appear confident and professional.
Camera height and distance
- Raise your camera to eye level—use a stack of books or a laptop riser. Looking slightly up (not down) is the most flattering.
- Position the camera so your head and upper torso are visible—aim for a head-and-shoulders frame with some space above your head (about 5–10% of the frame).
Background choices
- Clean and simple: a tidy bookshelf, a plant, or a neutral wall works best.
- Branded or role-relevant props: one or two subtle items (an industry book, a framed certificate) can reinforce credibility without distracting.
- Avoid virtual backgrounds unless your internet is strong; they can glitch and appear unprofessional.
Eye contact and body language
- Look at the camera when speaking, not the screen—this simulates eye contact. Place a small sticky note near the camera as a reminder.
- Use natural gestures—keep hands visible when possible to show engagement.
Example: A marketing candidate improved perceived warmth by angling her key light to create a gentle shadow on one side of her face and positioning a plant in the background for depth. The hiring manager commented on how “present” she felt on screen.
Pre-call checklist and live testing routine
A repeatable pre-call routine prevents last-minute problems. Spend 10–15 minutes on this checklist before each interview.
10–15 minute pre-call checklist
- 1Check internet: run a quick speed test (aim for >10 Mbps upload/download for single-participant video). If Wi-Fi is weak, tether to your phone or move closer to the router.
- 2Lighting: open Zoom video preview—adjust brightness and key/fill lights until your face is even.
- 3Audio: test with Zoom’s Test Mic and Speaker; record a 20–30 second clip and listen back for clarity and echo.
- 4Camera framing: ensure eye level, proper headroom, and tidy background.
- 5Notifications off: disable phone alerts, set computer to Do Not Disturb, and tell housemates you’ll be on a call.
- 6Backup plan: have a secondary device ready (phone or tablet) and the interviewer’s contact number.
Live-test scenario
- Run a mock interview with a friend or set up a one-way test: start a Zoom meeting alone, record 45–60 seconds of yourself answering a common interview question, then play it back. Look for audio clipping, inconsistent lighting, and visual glitches.
Example: After following this routine for a week, Casey noticed fewer technical hitches and more relaxed interviews because he’d eliminated surprises ahead of time.
Advanced tips and common mistakes to avoid
Once you’ve mastered basics, these advanced tips refine your presence. Also learn the most common mistakes so you can avoid them.
Advanced tweaks
- Use manual white balance on external webcams or LED panels to match room color temperature and avoid orange or blue casts.
- Record in high-quality audio if you plan to reuse clips in portfolio submissions—use uncompressed WAV or high-bitrate MP3.
- Consider a subtle backlight (hair light) to separate you from the background and add depth.
Common mistakes and fixes
- Mistake: Relying solely on virtual backgrounds. Fix: Use a real tidy background or a green screen if you must use a virtual backdrop.
- Mistake: Microphone gain too high. Fix: Lower input volume and move mic slightly farther away.
- Mistake: Ignoring room HVAC noise. Fix: Turn off noisy fans, or schedule interviews when the environment is quieter.
What if something fails live?
- Stay calm and transparent: apologize briefly, propose a quick fix (e.g., “I’m going to switch to my phone and continue”) and move on. Technical hiccups happen—how you handle them matters.
Example: One candidate’s laptop audio cut out mid-interview; she calmly rejoined from her phone, apologized, and finished strong. Her composure impressed the panel more than the glitch hurt her.
Key Takeaways
- 1Face a window or use a two-light setup to achieve even, flattering lighting; avoid backlighting.
- 2Choose a mic that fits your budget—lavalier mics and USB condensers boost clarity dramatically.
- 3Reduce echo with rugs, blankets, and soft furnishings; run a quick echo test before the call.
- 4Frame at eye level with head-and-shoulders view; keep background tidy and relevant.
- 5Run a 10–15 minute pre-call checklist (internet, lighting, audio, camera, notifications) every time.
- 6Have a backup device and contact plan in case of technical failure, and practice calm recovery phrasing.
- 7Test noise-suppression tools but verify they don’t overly clip your voice—always preview settings.
Conclusion
Good lighting and clear audio are non-negotiable for modern interviews—they’re the technical foundation for your story and the professional image you project. This guide gave you proven, actionable Zoom interview lighting and audio tips: simple lighting setups, microphone recommendations, room-acoustic fixes, framing guidance, and a fast pre-call routine. If you want to strengthen your overall interview package—including resumes and application materials—consider Resumize.ai to craft targeted resumes and optimize your profile for roles you want. Visit http://resumize.ai/ to see how Resumize.ai complements your improved on-camera presence and helps you land the interviews you deserve. Start implementing these tips today and step into your next interview with confidence.
Frequently Asked Questions
Related Articles
The Ultimate Guide: How to Answer ‘Why Do You Want to Work Remotely?’
Stuck on how to answer “Why do you want to work remotely?” You’re not alone. Hiring managers ask this to test fit, motivation, and reliability. In this guide you’ll get proven, strategic answers, real-world examples, and quick scripts you can personalize. Learn how to show you’re productive, aligned with company goals, and a culture fit—without sounding rehearsed. By the end, you’ll have 6 ready-to-use responses, a framework to craft your own, and tips to turn a potential red flag into a standout advantage.

Ultimate Interview Tips for Remote Asynchronous Communication Jobs
Struggling to land roles that depend on written, recorded, or delayed communication? You’re not alone. Asynchronous interviews test different skills than live calls: clarity, cadence, written persuasion, and the ability to anticipate questions. This guide gives you practical scripts, step-by-step prep, and real-world examples so you can communicate like a pro in async hiring processes—and dramatically increase your chances of getting hired.
The Ultimate Guide: What to Do If Your Dog Barks During a Remote Interview
Imagine the perfect remote interview—then your dog barks. Panic? Not needed. This guide walks you through practical, proven steps to prevent, manage, and recover if your dog barks during a remote interview. You'll get pre-interview prep, live mitigation tactics, recovery scripts, and follow-up strategies to protect your candidacy. Whether you're a first-time remote interviewer or a busy pro, these actionable tips will help you stay calm, professional, and in control when the unexpected happens.
Ready to Build Your Perfect Resume?
Put these insights into action with our AI-powered resume builder
Build my resume freeFree to start · No card · 5 credits the moment you sign up